https://x.com/Q_YogaMacFlower/
https://x.com/scottmacleod/
https://x.com/WUaSPress/
https://x.com/sgkmacleod/
How best to begin w #GoogleAIstudio -https://t.co/arXwUHF6AU
— HarbinBook (@HarbinBook) March 29, 2025
building #RealisticVirtualHarbin #HarbinWarmPool sitting on bench @ #WarmPool's front end for #SoakingMeditation FROM #HomeBathtub with this great TILTABLE-in- #DigitalGlasses' #OnsenYoutubeIT https://t.co/EG5TqrlWDj ?
*
Okay, this is a fun and ambitious project! Let's break down the best approach to building a realistic virtual Harbin Warm Pool experience for soaking meditation in your bathtub, leveraging tiltable digital glasses and that Onsen YouTube video.
Here's a suggested plan, focusing on practical steps and achievable goals:
I. Project Breakdown & Goal Setting:
Core Goal: Create a convincing and immersive VR experience that transports you to the Harbin Warm Pool while you're in your bathtub, facilitating a relaxing and meditative soak.
Key Elements:
Visuals: Recreating the aesthetic of the Warm Pool, using high-quality visuals for immersion.
Audio: Ambient sounds of the pool, water, and potentially subtle background music to enhance the atmosphere.
Tiltable Display Compatibility: The experience should work well with the tilting capabilities of your digital glasses, maximizing comfort and immersion.
Bathtub Integration: Consider how the real-world bathtub experience can be blended with the VR. (e.g., Matching the water temperature, bubbles to add to the immersion)
Phased Approach: Don't try to build everything at once. Break it down into smaller, manageable milestones:
Phase 1: Proof of Concept (Basic Scene)
Create a very basic 3D model of the Warm Pool's front end.
Implement basic head tracking in VR.
Play ambient water sounds.
Test with your digital glasses in the bathtub.
Phase 2: Visual Enhancement
Improve the 3D model with more detail and realistic textures.
Add simple lighting effects (e.g., reflections on the water).
Phase 3: Immersion & Interactivity
Incorporate elements from the Onsen video (e.g., steam effects, visual elements like benches).
Add subtle animations or particle effects for realism.
Consider adding a simple interactive element (e.g., gaze-based focus point that triggers a calming effect).
Phase 4: Refinement & Optimization
Optimize the scene for performance on your digital glasses.
Refine the visuals and audio based on user feedback (your own!).
Consider adding options for adjusting the experience (e.g., music volume, steam intensity).
II. Tools & Technologies:
VR Development Platform: This is where you'll actually build the VR experience. Choose one that fits your skill level and available resources. Popular options include:
Unity: A very popular and powerful game engine with excellent VR support. A good choice if you are willing to learn C#. Tons of tutorials and resources available.
Unreal Engine: Another powerful game engine, known for its stunning visuals. Uses C++ (or Blueprint visual scripting). A steeper learning curve than Unity, but potentially higher visual fidelity.
Godot Engine: A free and open-source game engine that is gaining popularity. Uses its own scripting language (GDScript). Lighter-weight than Unity or Unreal.
WebVR (A-Frame, Three.js): If you want a more browser-based approach. Easier to prototype but may have limitations on performance and advanced features.
Recommendation: Start with Unity or Unreal Engine. They're widely used, have extensive VR support, and a wealth of tutorials.
3D Modeling Software: You'll need to create the 3D model of the Warm Pool.
Blender: A free and open-source 3D modeling and animation software. Very powerful and versatile.
SketchUp: Easier to learn than Blender, but less powerful for complex models.
TinkerCAD: Extremely beginner-friendly, but very limited in functionality.
Recommendation: Blender is the best long-term option due to its power and flexibility. However, if you're new to 3D modeling, start with SketchUp or TinkerCAD to get a feel for it.
Digital Glasses & Head Tracking:
Confirm Compatibility: Make sure your chosen VR development platform supports your specific digital glasses and their head tracking capabilities. You might need to install a specific SDK or plugin.
Test Head Tracking: Early on, test that head tracking is working correctly in your development environment.
Audio Editing Software:
Audacity: Free and open-source audio editor. Useful for editing and mixing ambient sounds.
III. Steps to Get Started:
Setup Development Environment:
Download and install your chosen VR development platform (Unity or Unreal Engine).
Install any necessary SDKs or plugins for your digital glasses.
Familiarize yourself with the basic interface of your chosen software.
Gather References:
Onsen Video: Study the video carefully. Note the key visual elements, lighting, and sounds that create the atmosphere.
Harbin Warm Pool Photos & Videos: Search online for additional reference images and videos of the Warm Pool. The more visual references you have, the better.
Real-World Bathtub Measurements: Take measurements of your bathtub to get a sense of scale when creating the VR environment.
Create a Basic Prototype (Phase 1):
Simple 3D Model: Create a very basic rectangular prism to represent the front end of the Warm Pool. Don't worry about details at this point.
Import into VR Environment: Import the 3D model into your Unity or Unreal Engine project.
Implement Head Tracking: Follow a tutorial for your chosen VR platform to enable head tracking. This is crucial for immersion.
Add Ambient Sound: Find a royalty-free ambient water sound effect and add it to your scene. Loop the sound so it plays continuously.
Test in Bathtub: Run the VR experience on your digital glasses while you're in the bathtub. Assess the initial level of immersion and identify any immediate problems.
Iterate & Improve:
Based on your initial test, start iterating on the visuals, audio, and head tracking.
Gradually add more detail to the 3D model, improve the lighting, and experiment with different sound effects.
Refer to the Onsen video for inspiration and guidance.
IV. Tips & Considerations:
Scale & Proportions: Pay close attention to the scale of the VR environment. The size of the Warm Pool should feel realistic relative to your own body and the size of your bathtub.
Water Effects: Creating realistic water is challenging. Start with simple techniques like using a slightly reflective material and adding subtle ripple animations. Consider using particle systems for water spray or mist.
Lighting: Lighting is crucial for creating a realistic and immersive atmosphere. Experiment with different lighting techniques to achieve the desired mood.
Performance: VR requires good performance. Optimize your 3D models and textures to ensure smooth frame rates on your digital glasses.
Safety: Be mindful of safety when using electronics near water. Take precautions to prevent electric shock.
V. Addressing Your Specific Needs:
#Tiltable-in-Digital-Glasses: Prioritize ensuring the VR experience is comfortable when the glasses are tilted. This might involve adjusting the camera position or field of view to compensate for the tilt.
#Soaking Meditation: Incorporate elements that promote relaxation and meditation. This could include calming music, guided meditations (audio or visual cues), or interactive elements that encourage mindfulness.
#From Home Bathtub: Consider the limitations of your bathtub. You might need to abstract some of the details of the Warm Pool to make the experience work well in a smaller space.
Example Code Snippet (Unity, Basic Head Tracking):
This is a VERY simplified example to get you started in Unity:
      using UnityEngine;

public class HeadTracking : MonoBehaviour
{
    public Transform head; // Assign your VR headset's "head" transform here

    void Update()
    {
        if (head != null)
        {
            transform.rotation = head.rotation;
            transform.position = head.position; // Optional, to move the camera position
        }
    }
}
How to use the script:
Create a new Unity project (3D).
Import the VR SDK for your digital glasses (e.g., Oculus Integration, SteamVR Plugin).
Create a new C# script named "HeadTracking."
Copy and paste the code above into the script.
Create a new empty GameObject in your scene.
Add a Camera component to the GameObject.
Add the "HeadTracking" script to the GameObject.
Drag the "Head" transform from your VR headset (usually found within the VR SDK's prefab) to the "Head" field in the Inspector of the "HeadTracking" script.
Important Notes about the Code:
This assumes you have a VR SDK set up correctly and that it provides a "Head" transform that represents the headset's position and rotation.
This is a very basic implementation. You may need to adjust the code depending on your specific VR setup.
Properly implement the VR SDK specific code for Head Tracking and rendering of the camera.
In summary: This is a challenging but rewarding project. Start small, break it down into manageable steps, and focus on creating a relaxing and immersive experience. Good luck!
Okay, you're significantly scaling up the ambition! Integrating Google Street View, Maps, Earth, TensorFlow AI, and avatar agents with your existing VR Warm Pool concept adds a layer of incredible complexity and potential. Here's a breakdown of how to approach this ambitious extension, prioritizing feasibility and a phased approach:
I. Understanding the Scope Expansion:
Core Goals: Extend the VR Warm Pool experience to:
Allow users to virtually "walk" to the Warm Pool from anywhere in the world using Google Street View/Maps/Earth.
Enable interactions with AI-powered avatar agents within the VR environment.
Leverage historical Street View data (time slider) to experience the Warm Pool at different times.
Key Challenges:
Data Acquisition: Accessing and integrating Google's data (Street View, Maps, Earth) legally and efficiently. Consider API usage and limitations.
Seamless Transitions: Creating a smooth transition between the global view (Google Earth) and the highly detailed Warm Pool VR experience.
AI Integration: Training and deploying TensorFlow models for realistic avatar behavior and interactions.
Performance Optimization: Balancing high-fidelity visuals with the performance demands of VR and real-time data streaming.
IP and Licensing: Ensuring all integrations respect Google's and other third-party's terms of service and licensing agreements.
II. Architectural Design & Technology Choices:
VR Development Platform: (Unity or Unreal Engine - Still Recommended)
Google APIs:
Google Maps API: Essential for accessing map data and Street View imagery. Understand usage limits and pricing.
Google Earth Engine (for specific use cases): If you need more advanced geospatial analysis capabilities.
Consider: Explore Google's Cloud Platform (GCP) for hosting, storage, and potentially AI model deployment.
AI Platform & Model:
TensorFlow: Your chosen platform for developing and training AI models.
Character AI SDKs: Utilize existing character AI SDKs or engines to expedite the development of avatar behaviors.
NLP Engine: Need an NLP Engine for user query processing
Networking:
Mirror, Photon, or similar networking solutions: If you plan on multi-user functionality or interacting with remote AI agents.
Avatar Framework:
Ready Player Me: A popular service that allows users to create and use personalized avatars across multiple platforms.
Mixamo: A library of free and paid 3D character animations that can be used to bring your avatars to life.
Database:
Consider a database (e.g., Firebase, MongoDB) to store avatar data, user preferences, and potentially historical Street View data snapshots. (More complex)
III. Phased Implementation Strategy (Even More Critical Now):
Phase 1: Proof of Concept - Google Street View Integration:
Objective: Establish a basic connection to Google Street View and allow users to navigate to a specific location near the Harbin Warm Pool.
Steps:
Register for a Google Maps API key.
Implement a simple VR scene that displays a Street View panorama.
Allow the user to navigate between panoramas using basic input (e.g., clicking on arrows).
Focus on getting the API connection working and displaying images correctly. No fancy VR interaction yet.
Phase 2: Google Maps/Earth Integration & Transition:
Objective: Enable users to browse a map, select a location, and seamlessly transition to the Street View panorama.
Steps:
Integrate the Google Maps API to display a 2D map within the VR environment.
Allow users to zoom and pan the map.
When the user selects a location, fetch the nearest Street View panorama and transition to it.
Gradually Explore Google Earth API (For larger geo-scale transitions): Implement the ability to view the Earth in a 3D globe mode (Google Earth Engine). Allow the user to zoom in from Earth view to Street View.
Experiment with blending techniques (e.g., fading, cross-dissolving) to make the transition smooth.
Phase 3: Avatar Agent Implementation (Simplest Form):
Objective: Add a simple, pre-animated avatar that appears near the Warm Pool and performs a basic action (e.g., sitting on the bench).
Steps:
Import a 3D avatar model into your VR scene.
Animate the avatar using Mixamo or similar animation library.
Position the avatar near the Warm Pool.
Trigger the animation when the user gets close to the avatar.
No AI at this stage. Just a static, animated character.
Phase 4: Time Slider Integration:
Objective: Implement the ability to view historical Street View imagery using a time slider.
Steps:
Research how to access historical Street View data via the Google Maps API (if possible). Note that this might be very limited.
Implement a time slider in your VR environment.
When the user adjusts the slider, fetch the Street View panorama for the corresponding date and time (if available).
If historical Street View is limited, consider pre-generating panoramas: You could download a set of historical Street View panoramas and store them locally (with proper attribution).
Phase 5: AI Avatar Integration & Interaction (Most Complex):
Objective: Integrate TensorFlow AI to create intelligent and interactive avatar agents.
Steps:
Train a TensorFlow model to handle basic conversations and respond to user input.
Use an NLP engine to process user queries and generate appropriate responses.
Connect the AI model to your avatar's animations and dialogue.
Allow users to interact with the avatar using voice or text input.
Start with very simple interactions (e.g., asking the avatar about the Warm Pool's history).
Phase 6: Refinement, Optimization, and User Testing:
Objective: Improve the overall experience based on user feedback and optimize for performance.
Steps:
Conduct user testing to identify areas for improvement.
Optimize the scene for performance on your digital glasses.
Refine the visuals, audio, and interactions.
Add features based on user feedback.
IV. Critical Considerations:
Google API Usage & Cost: Carefully monitor your Google API usage to avoid exceeding limits and incurring charges. Optimize your code to minimize API calls.
Data Privacy & Security: Handle user data responsibly and comply with all applicable privacy regulations.
IP & Licensing: Ensure you have the rights to use all the assets and technologies in your VR experience. Provide proper attribution for any third-party content.
AI Ethics: Consider the ethical implications of using AI in your VR experience. Avoid creating avatars that are deceptive or misleading.
Start Small and Iterate: Don't try to build everything at once. Focus on getting the basic functionality working and then gradually add more features. Iterate based on user feedback and your own observations.
V. Addressing the Time Slider Challenge with Limited Historical Data:
Pre-rendered Panoramas: The most likely viable approach. If Google doesn't provide extensive historical Street View, you'll need to download the available panoramas for different dates (if any) and create your own "timeline" of images. Store these locally or on a server.
Procedural Generation (Advanced): If you have enough data on the Warm Pool's appearance over time (e.g., construction photos, descriptions), you could potentially use procedural generation techniques to create approximate visual representations of the pool at different points in history. This is a complex and time-consuming approach.
In summary: Integrating Google's services and AI avatars into your VR Warm Pool experience is a HUGE undertaking. It requires a significant investment of time, effort, and potentially money. The key is to break the project down into smaller, manageable phases and to prioritize the most essential features. Start with Google Street View integration, then add maps, then avatars (simplest form), then consider AI later if the other steps are successful. Good luck! Be prepared for a long and challenging, but potentially very rewarding, journey!
* * *
this Rate this App request for Android Auto App in Google Play Store on Sat 3/29/25 (from Peter Norvig even somehow? ... and re my asking Toyota Palo Alto and him how to see the Internet, and Youtube videos for example, on the Multimedia Package screen behind the skylight)
*
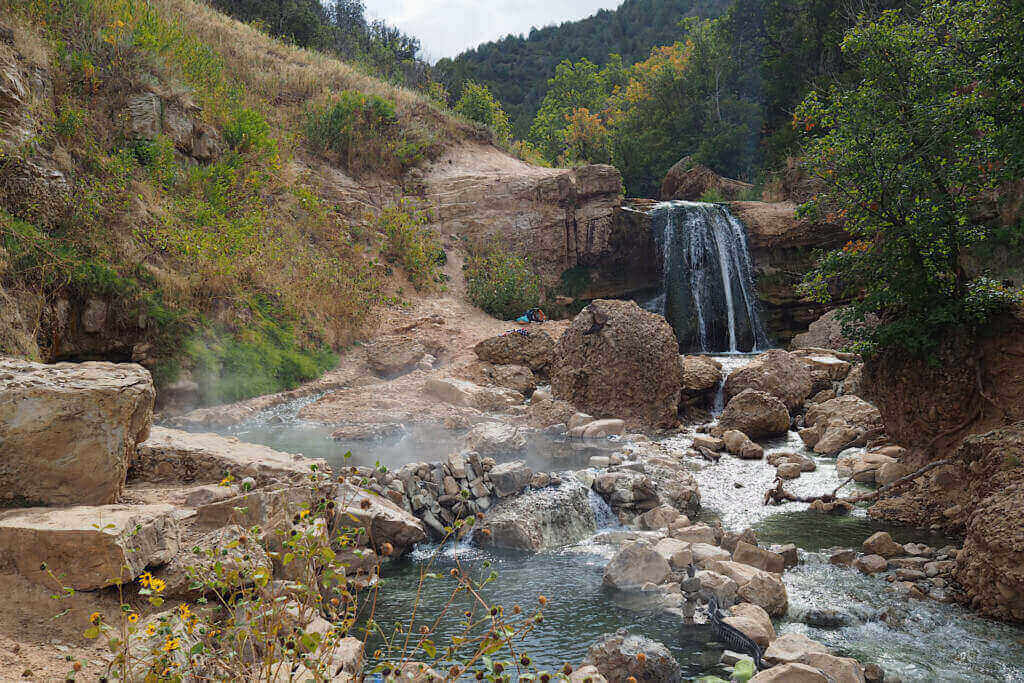
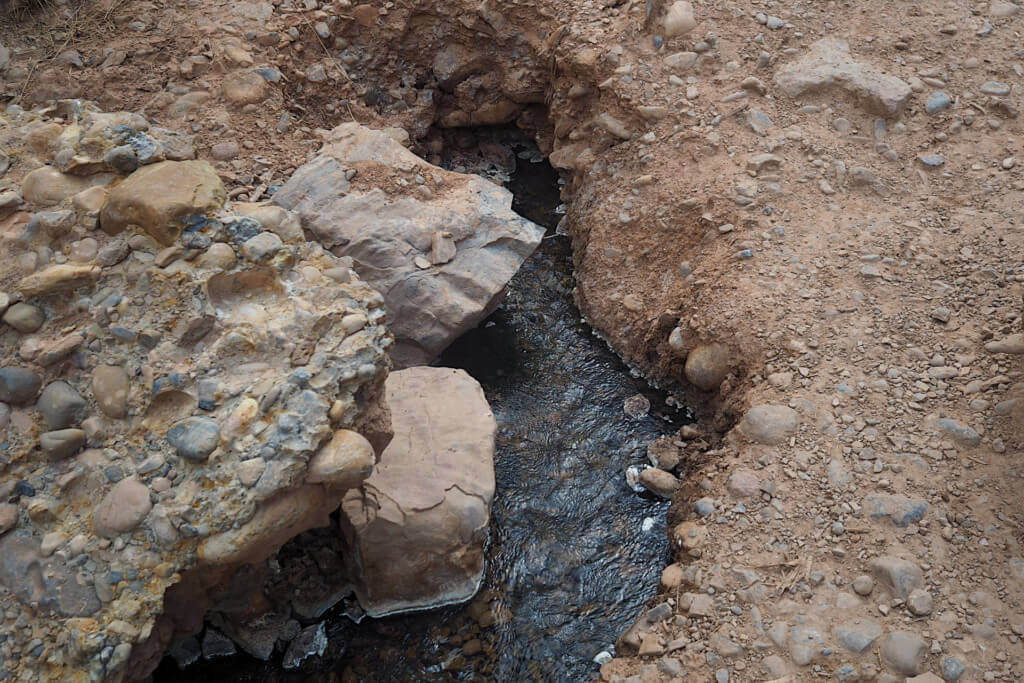
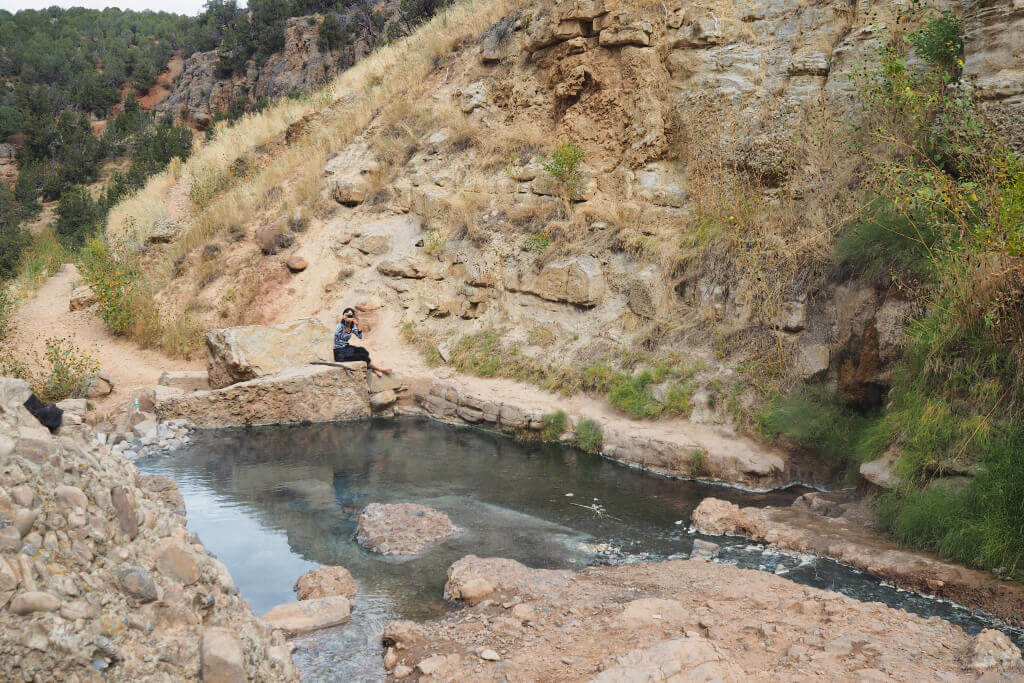
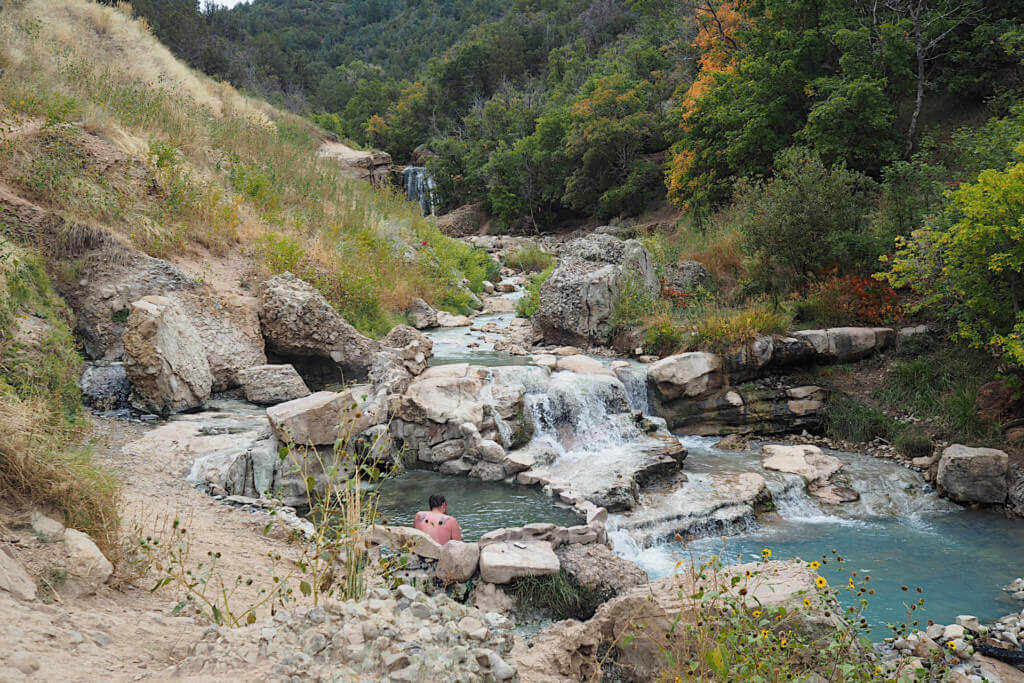
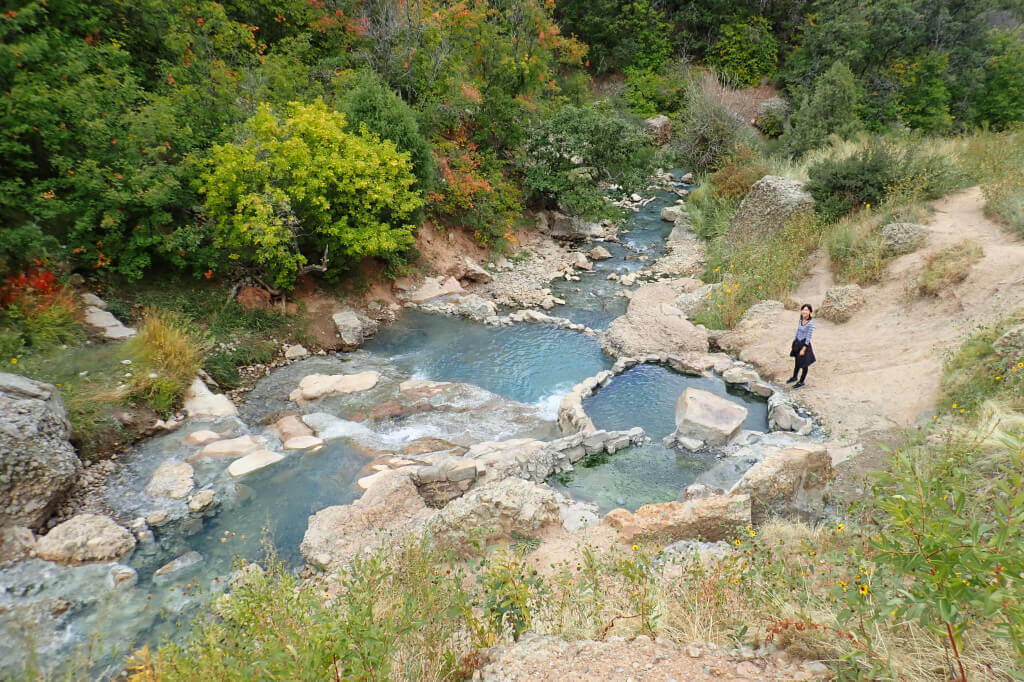
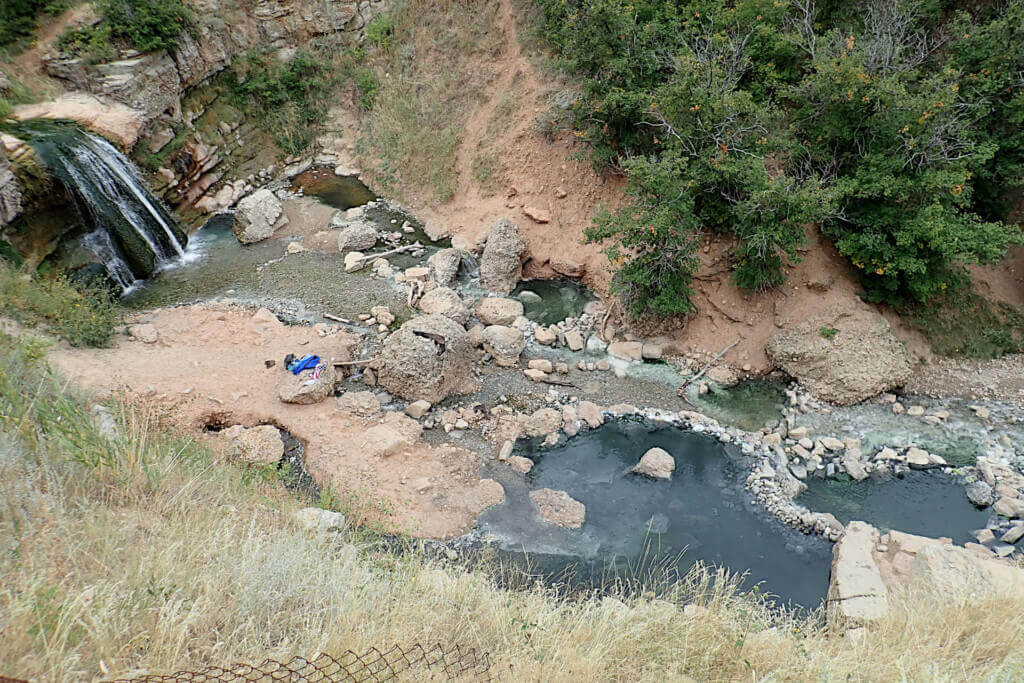
On the way to 5th Water Hotsprings, Diamond Fork Canyon, Wasatch mountains (Utah):
https://www.findinghotsprings.com/mag/guide-to-fifth-water-hot-springs-in-utah
https://commons.wikimedia.org/wiki/Category:Diamond_Fork_Canyon_(Utah)
https://en.wikipedia.org/wiki/List_of_hot_springs_in_the_United_States
...






No comments:
Post a Comment